Take some strings and look what you get: a string art contest – ahem no – you get Tantra, the famous/infamous Indian philosophy of self-realization and ritualistic practices as Tantra literally means fabric referring to a fabric of words – ahhhh no – what I really want to say is, take some strings and you get fabric.
Wow, that took some doing. But I managed not only to mention @needleworkmonday’s amazing string art contest but also to look unbelievable intellectually by casually throwing in that tidbit about Indian philosophy. Simultaneously I perhaps confused you so much, that you still don’t know about which topic I want to write ?.
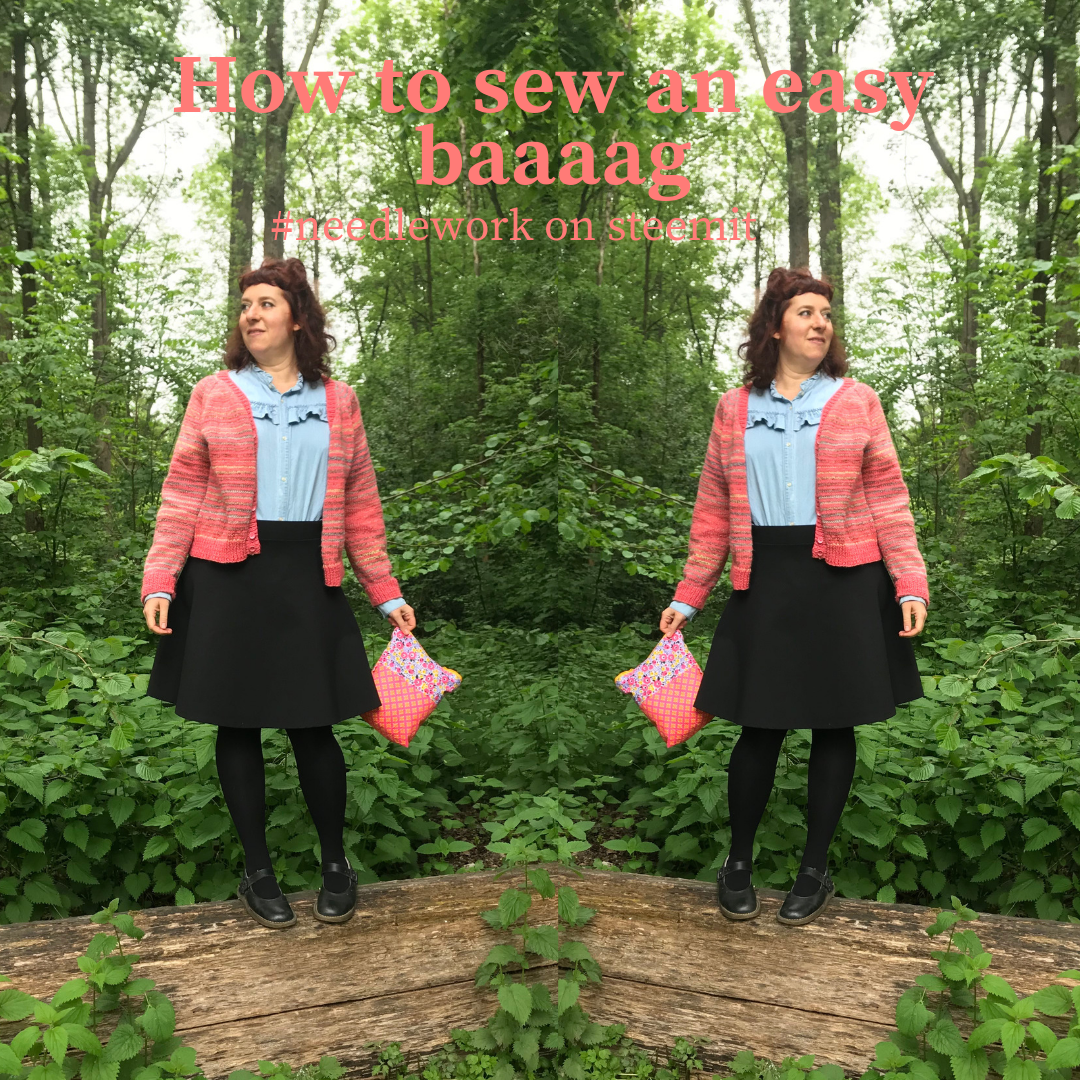
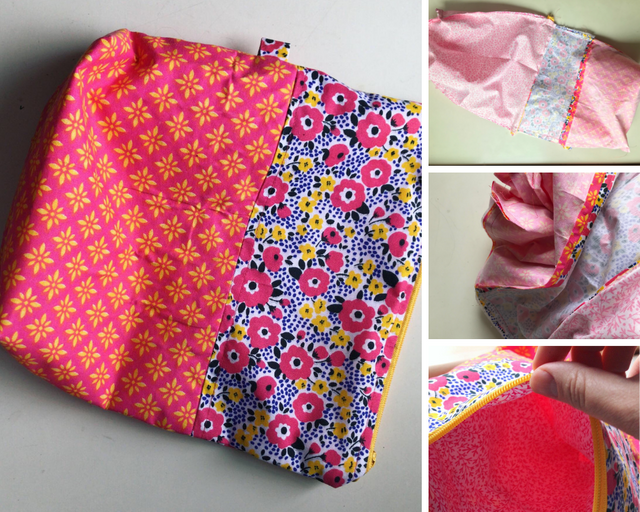
It is bags. Handmade project bags with a zipper and lining. Sewn out of wildly colored fabric (which is made from strings, just to bring up my weird introduction again). With this project I tackled two of my bigger sewing fears – zipper, lining, you know – and succeeded. But I would never pick up such sewing projects on my own: Projects which not only seem to need a bit of work and concentration but which are not clothes (to which I am addicted) ??? So, the inspiration came from my wonderful fiberfriend Lisa who recently got a sewing machine and instantly produced wonderful little bags in harmonizing colors. This gave me the push I needed to try it out for myself. Lisa recommended a video-tutorial from Hue Loco Yarn and I recommend it to you, if you have never made a bag before like me. You can find the video: here
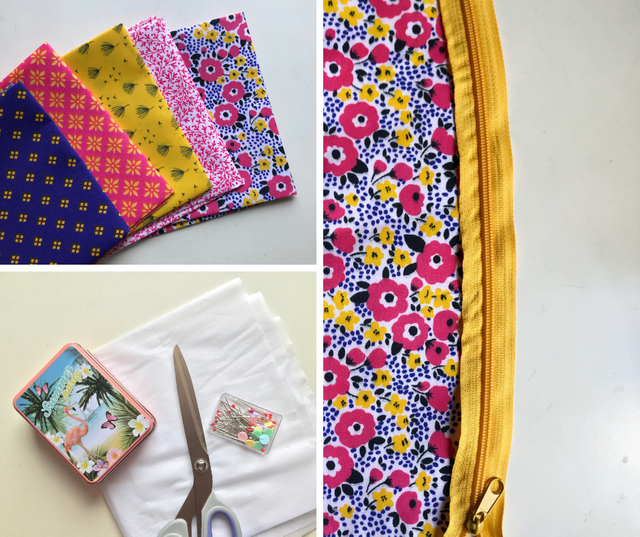
What you need
26 x 56 cm of fabric A (smaller part of the bag)
38 x 56 cm of fabric B (bigger part of the bag
60 x 56 cm of lining fabric
8 x 8 cm fabric A or B (optional for the key-ring)
Interfacing the same amount of fabric A and B
A zipper 30 cm
Thread
Scissor, pins, sewing machine
.png)
What to do
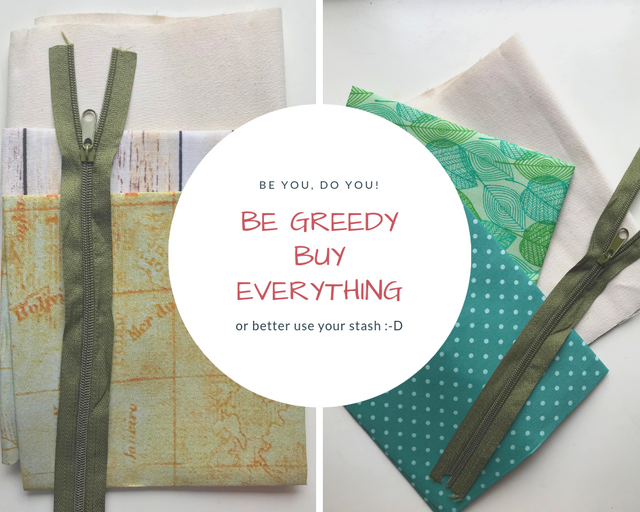
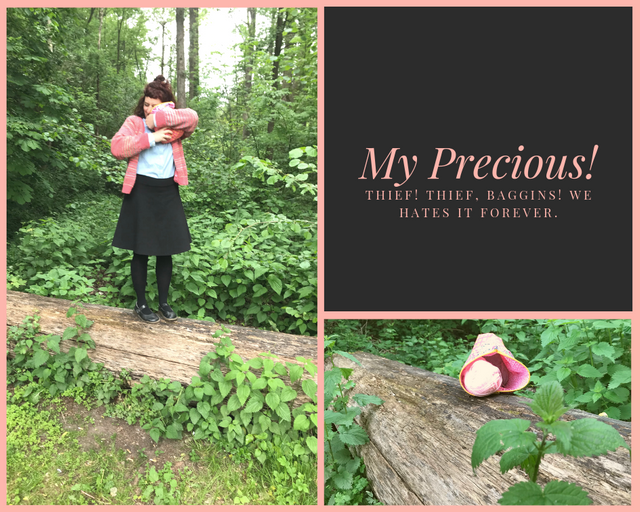
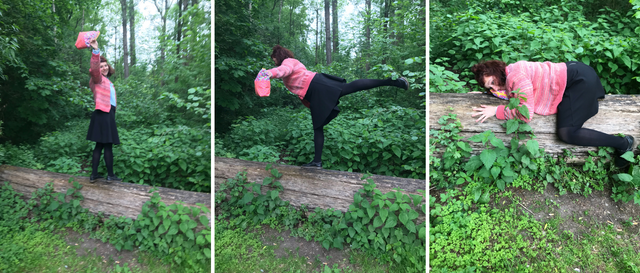
Run into the nearest fabric store and plunder the cotton fabric aisle. Buy several matching, contrasting, funny, serious and cute fabrics. Buy at least 78 m fabric all in all. Than run back home and thank yourself for being funny and greedy… Maybe stroke the fabric a bit while mumbling ‚my precious‘ and if someone (perhaps your conscience, husband or other beloved entities) demands of you to return this much too big amount of fabric, answer with a heartfelt ‚Thief! Thief, Baggins! We hates it forever.‘
.png)
What you really should do
Visit your box of scrap fabric and choose some lovely designs out of your non-stretchy fabric remnants. Plot your templates and cut out the rectangles according to the pattern with a small seam allowance. Cut out the lining for the outer parts of the bag and iron it on (beware, don’t put interfacing on the lining). With this step I had some difficulties. Although I followed the manufacturers advice the interfacing crumpled on two of the fabrics. I am not sure if the temperature was too high or if I ironed it for too long or if the acrylic fabric I have chosen was the culprit …. I will investigate this when I am making the next bag.
Now sit down and watch the tutorial. ? The first thing Nicole shows in this tutorial is how you insert the zipper. I love this, because the scariest thing is done first and out of the way. After inserting the zipper, the seams of lining and bag are closed. But leave a small part open, so that you can later turn the whole bag inside out (ok, it’s outside out ?). If you want to attach a key-ring, you must insert the fabric between lining and the outer bag before closing the seams.
But before turning, Nicole cuts the inner corners of the bag. This step is done with the corner template in her pdf pattern. Before watching the video I was curious what to do with this little triangle. This step is essential to give your bag a real ‚bag‘ form, to transform it from flat into a bag with a wider base which can stand upright on its own.
.png)
The last step is grabbing with your nimble fingers the hidden intestines of your bag and rip pull them out. Close the gap in the lining and tadaaaa: finished bag ?
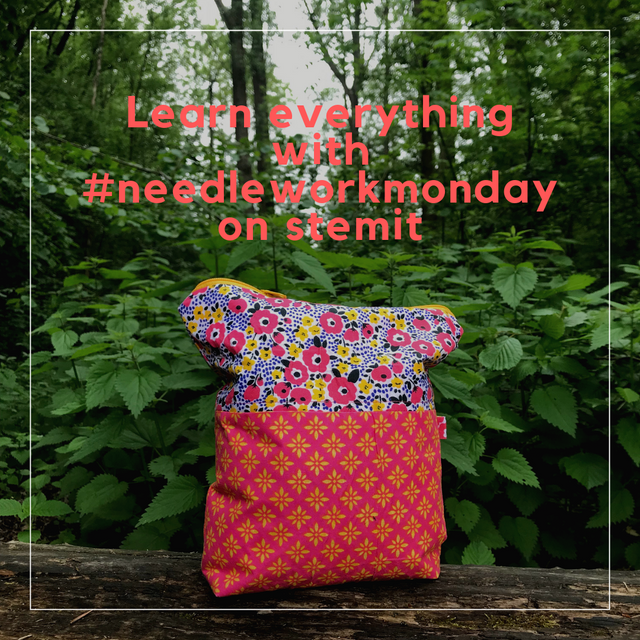
The possibilities of this bag pattern are endless. I can see myself sewing countless project bags in different fabrics and sizes, so that I can start even more new knitting and crochet projects and nobody will notice, as they are hidden in these wonderful bags.
.png)
Thank you @crosheille for iniciating and @muscara, @shanibeer, @marblely for hosting the #needleworkmonday. If you want to see more beautiful projects with yarn, fabric and most of all needles, follow @needleworkmonday on steemit. Or even better grab your needles and keyboard and join the #needleworkmonday community. You can read more comments on this post on my steemit blog.
Thank you Silvia for the beautiful photos.