
No, these three words in the title are not random. They have a deeper meaning. They proof that I can sew a sweater that I can sew a sweater in three attempts that Sew House Seven makes wonderful patterns. Wow, I got the sentence finished, this was tough ?
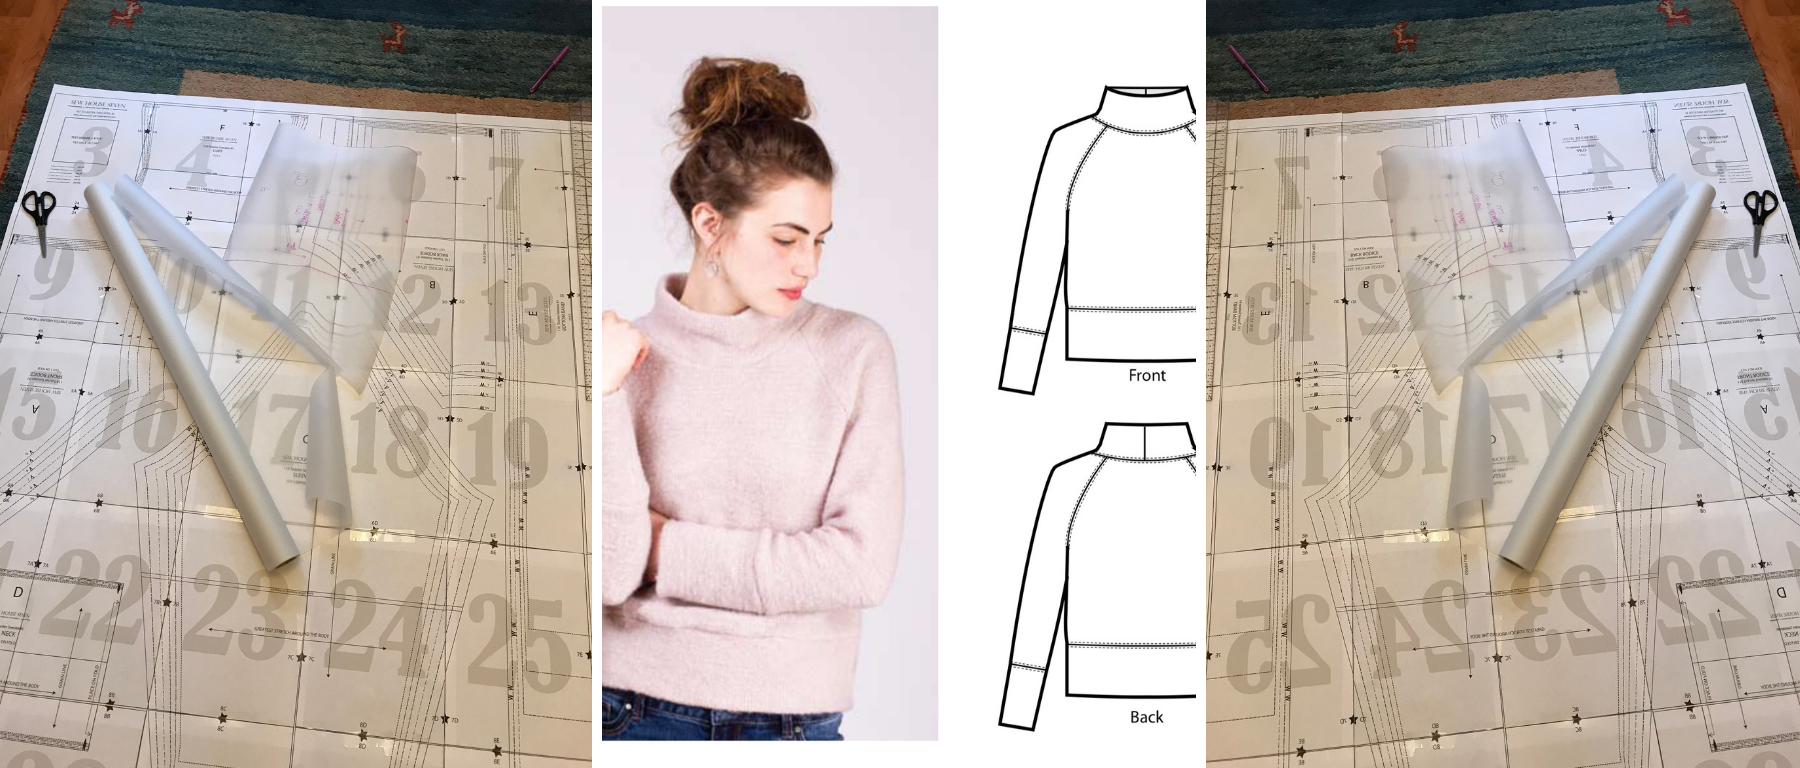 As always, my first passage is a bit cryptic, but the riddle will be solved. During the last week I learned to sew a sweater, namely the Toaster Sweater 1. I found this lovely cropped sweater per chance on Instagram and I loved the model in it. The long cuffs and the big waistband, the turtleneck and raglan sleeves, the stiff fabric and naturally the colour pink – I was smitten. Maybe the medication lowered my inhibition (you remember, flu, fever…?) but I instantly bought this pattern. As it is a pdf pattern, it really was instantly.
I glued the 32 pages together (HATE) and had the pattern ready. By the way: here is my one and only critic of this pattern: although I tested if my printer is calibrated, the lines on the paper did not fit perfectly.
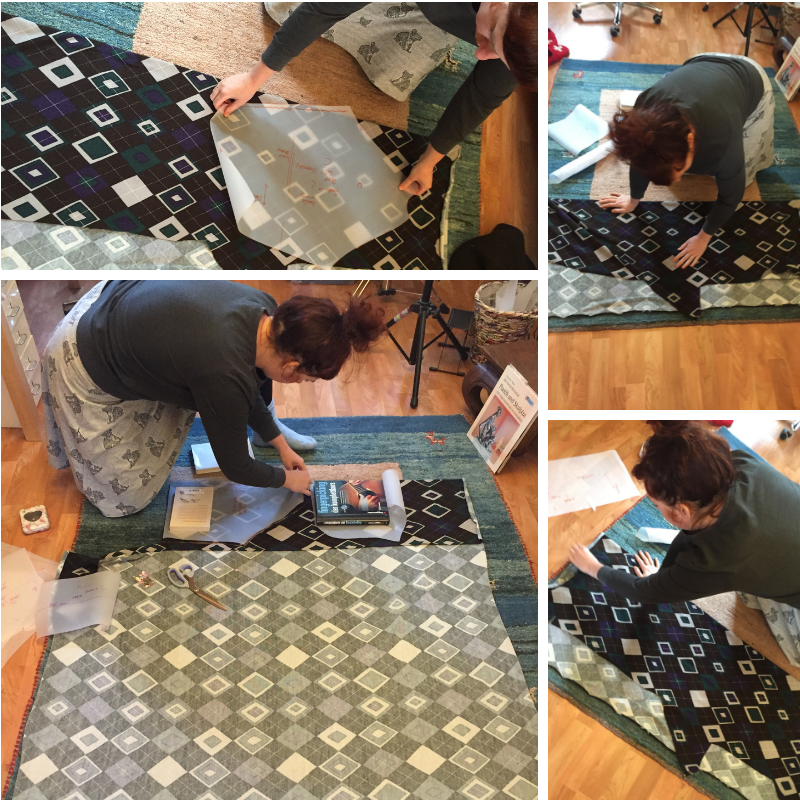 Next step was choosing a size (L) and cutting the fabric. As this is my first real sweater, I as always used cheap fabric. It is a thin knitted fabric with autumnal colours or, so I try to sugar-coat my strange fabric purchase. As this fabric is a piece out of the scrap box of the shop I did not have the recommend amount of 1,5 x 1,8 m fabric (much less: I had 1,4 x 1,1 m). This led to contorted movements on the floor to get the pattern fitted on the too small fabric… and no wonder, it did not fit. I changed the size of waistband and cuffs and tada, the fabric sufficed.
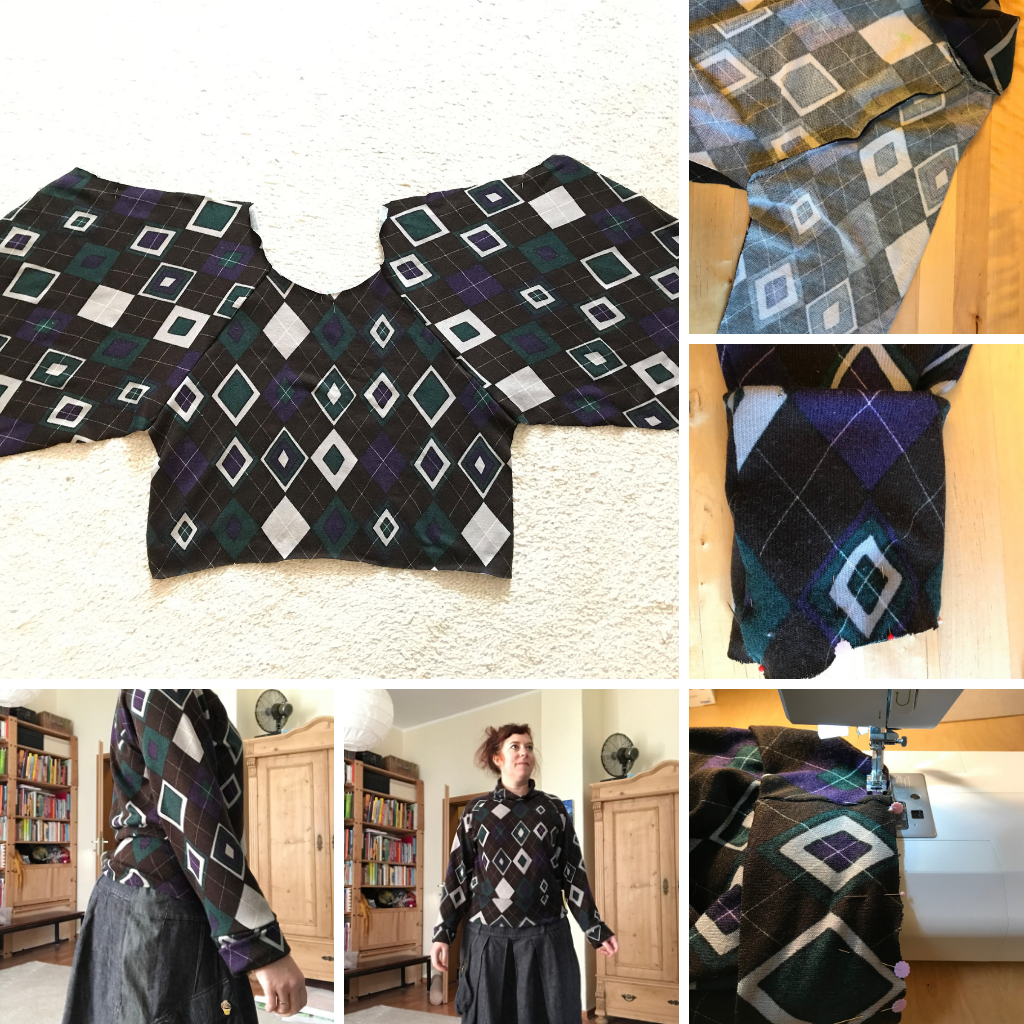 The next steps were pinning and sewing. As I do not have a overlock sewing machine, I used a stretchy three-step zig-zag stitch. The explanation of the pattern is super clear and I was able to understand everything without searching for a YouTube tutorial.
1.: sewing the raglan sleeves to the front and then to the back
2.: attaching the turtleneck
3.: closing side and sleeve seams
4.: attaching the cuffs
5.: attaching the waistband
Sweater complete…
But as you can see it is too wide and too long.
 So on to the next
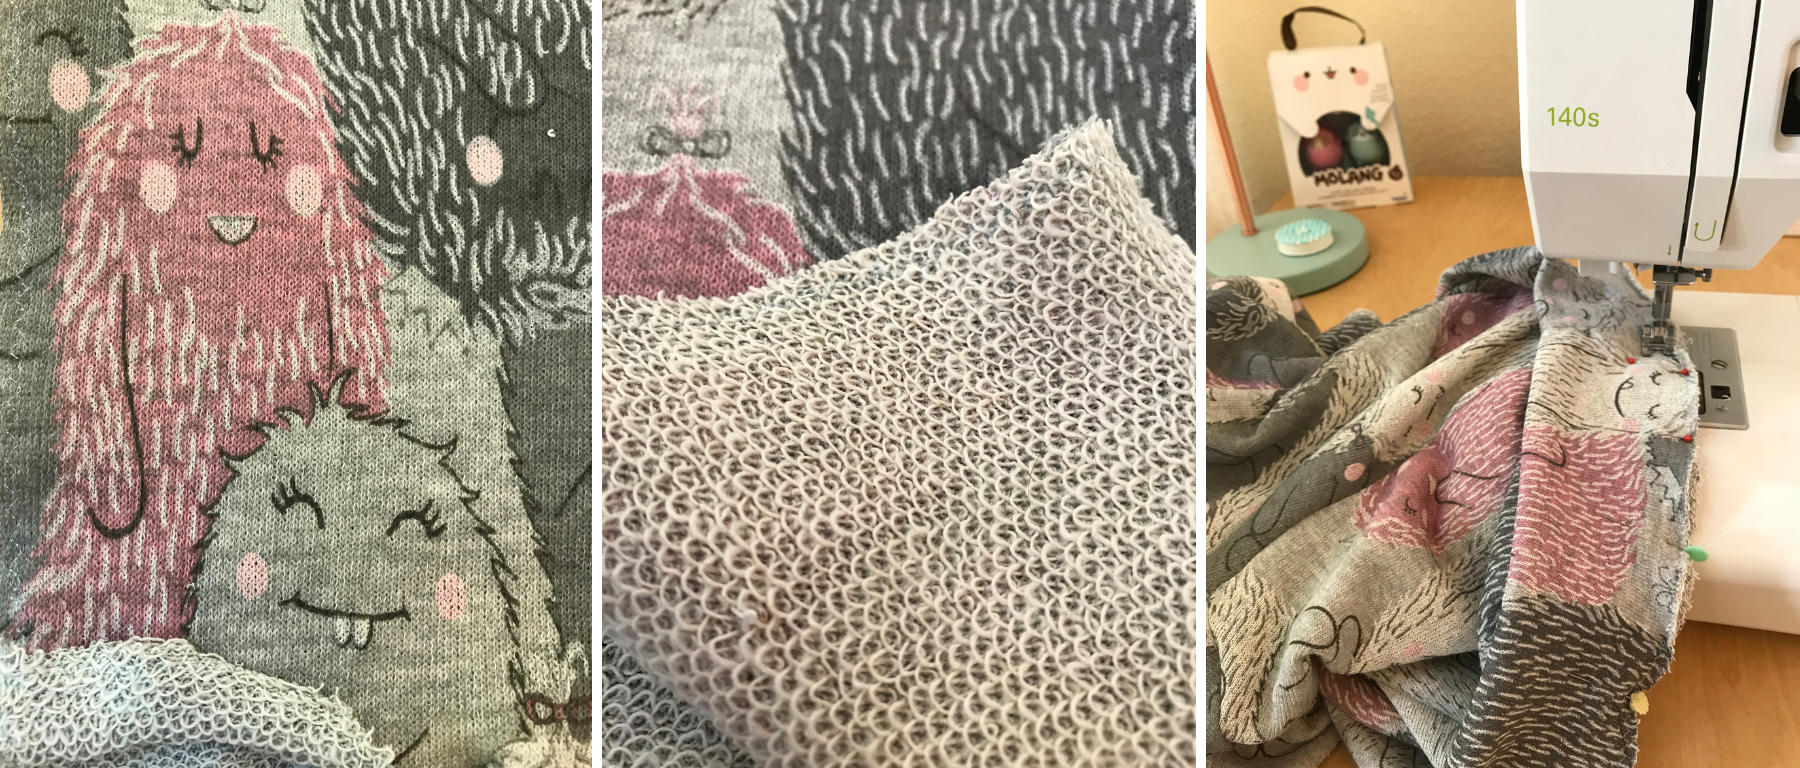
 the cold my brain told me in size M. And again, I used a scrap fabric. But this time it was a fabric which I eyed forever in the shop, but it was much too expensive. But lucky me I found a rest some weeks ago in the summer sale. Again, not so much as the pattern called for, but now I was prepared to puzzle it out … or so I thought.
This super cute fabric with its Barbapapa lookalikes was a hell to sew. The backside of the fabric is made from little loops which:
a) unravelled when cut
b) got stuck in the sewing foot and
c) tore the thread
NO FUN!
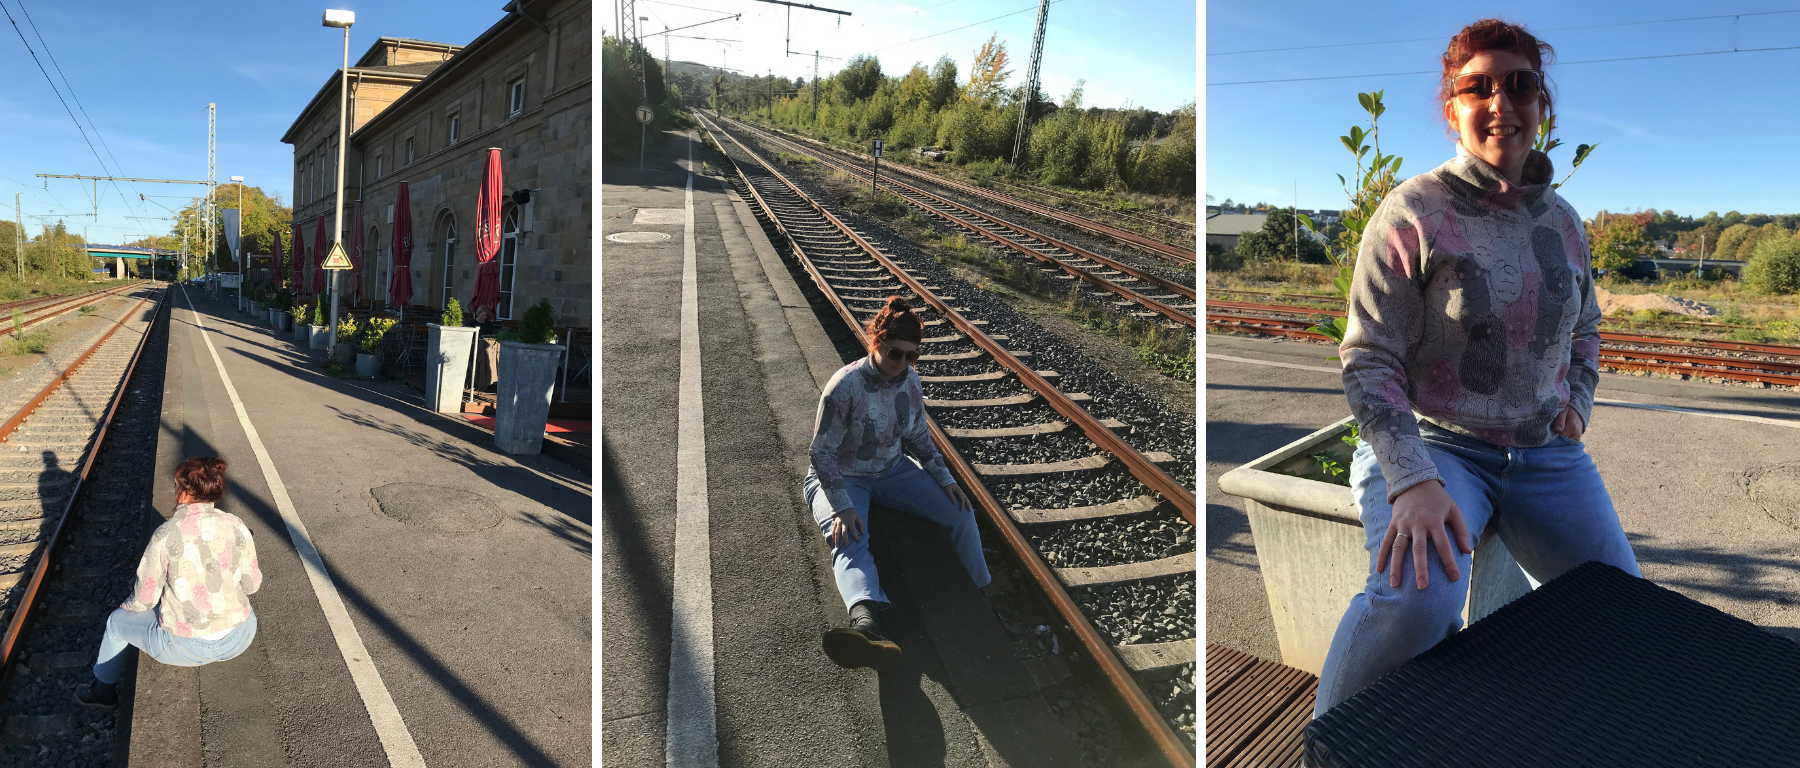
I nevertheless finished the sweater and I am so happy with it. I made some small modifications to size M – I shortened the sleeves and the body about 3 cm and it fits (for my taste) perfectly.
No longer hate, but LOVE <3
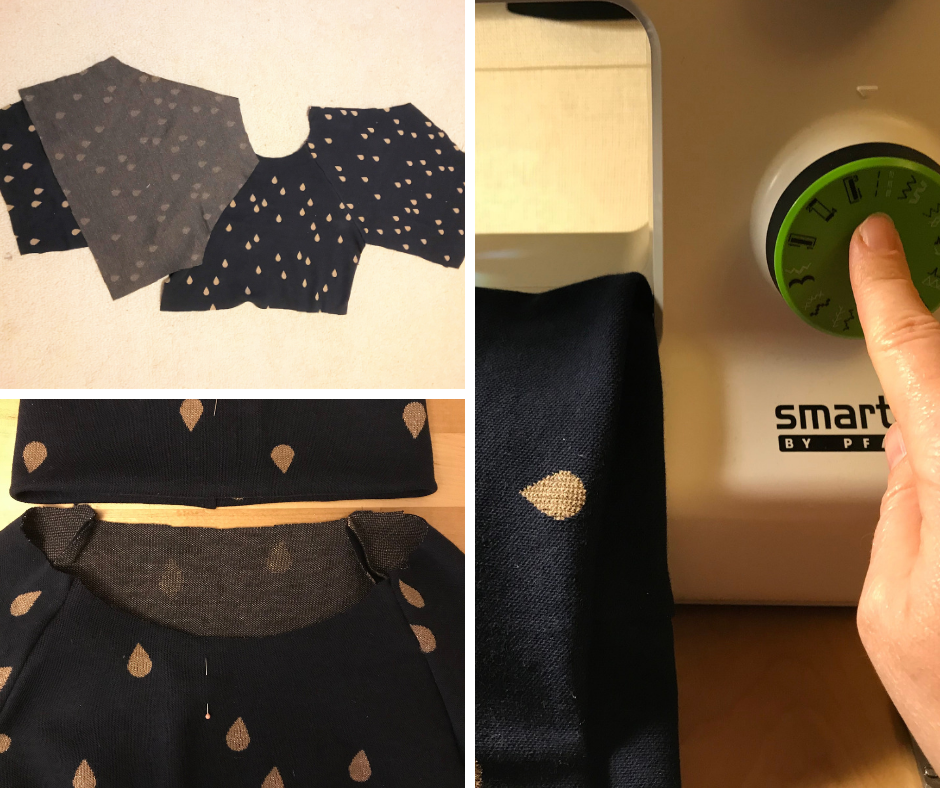 And as you perhaps guessed, I am already making the third one. Now with proper fabric, I bought on the Netherlands fabric market. The fabric is a medium thick knitted one, and it is super comfortable to sew. Sadly, the sweater is not ready, I only can show you some making of photos. (Where you can see that I even top stitched the waistband and turtleneck)
The next project will be a sweater made out of triangles from Rosie Martin I love her designs and I think she herself is super beautiful and has a very cool style <3
Thank you @crosheille and @crystalize for hosting the #needleworkmonday. If you want to see more beautiful projects with yarn, fabric and most of all needles, follow @needleworkmonday. Or even better grab your needles and keyboard and join the #needleworkmonday community on steemit. If you want to read all #needleworkmonday comments go and visit my steemit blog.