
In this third part of my presentation (and hopefully explanation) of various methods to knit or crochet a cardigan we reached my favourite technique: working top-down. You may ask why I love this method so much and I could tell you it’s due to me being lazy and impatient but most likely it is due to me being absolute genius and therefore loving the fastest, effortless, and best of all methods.
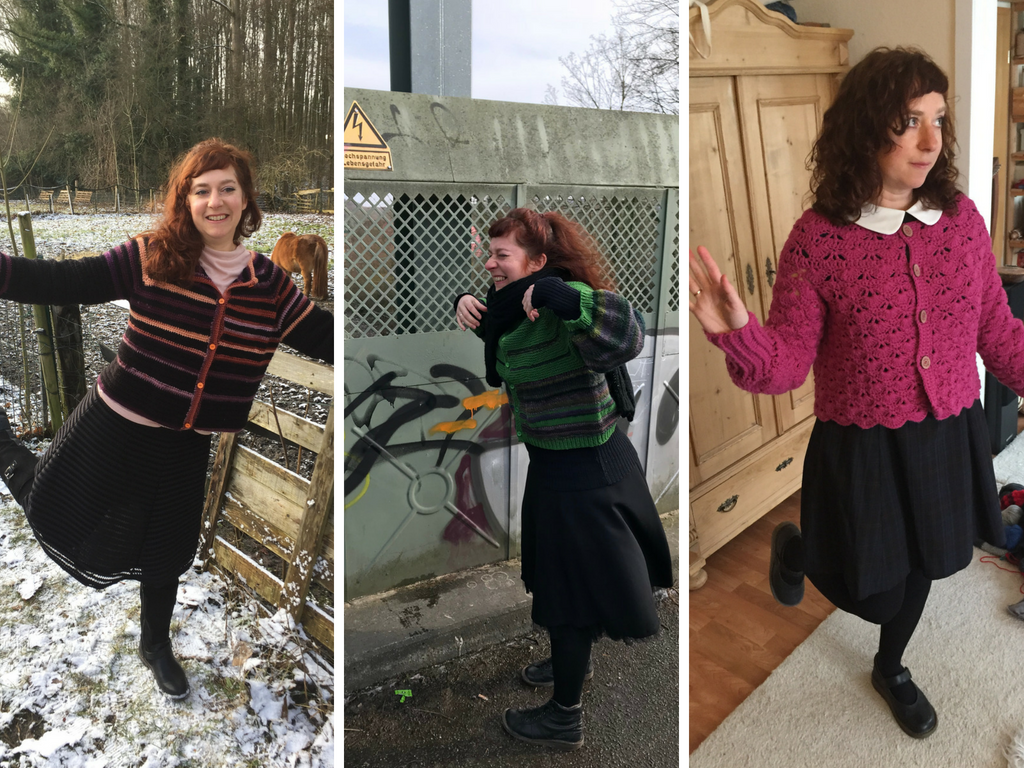
1. raglan crochet cardigan 2. knitted raglan cardigan 3. crochet cardigan with a round yoke in lace pattern
Advantages of top-down constructions
Remember the advantages of top-down constructions? No? No problem I will gladly repeat them: While working from the neckline to the hem in one piece, you can try the cardigan on. There will be no surprise at the end. You can alter the fit on the go, for example elongate or shorten the yoke, make the sleeves wider or narrower, decide to use a more tailored or a boxier style and so on. The second pro is, less sewing. I know, there may be people who love to sew, but I am not one of them. With the top down construction, it is possible to work the whole cardigan completely without sewing (but I must admit, I normally crochet/knit the sleeves flat, because I do not like the fit of the slightly spirally texture, if knitted/crocheted in the round).
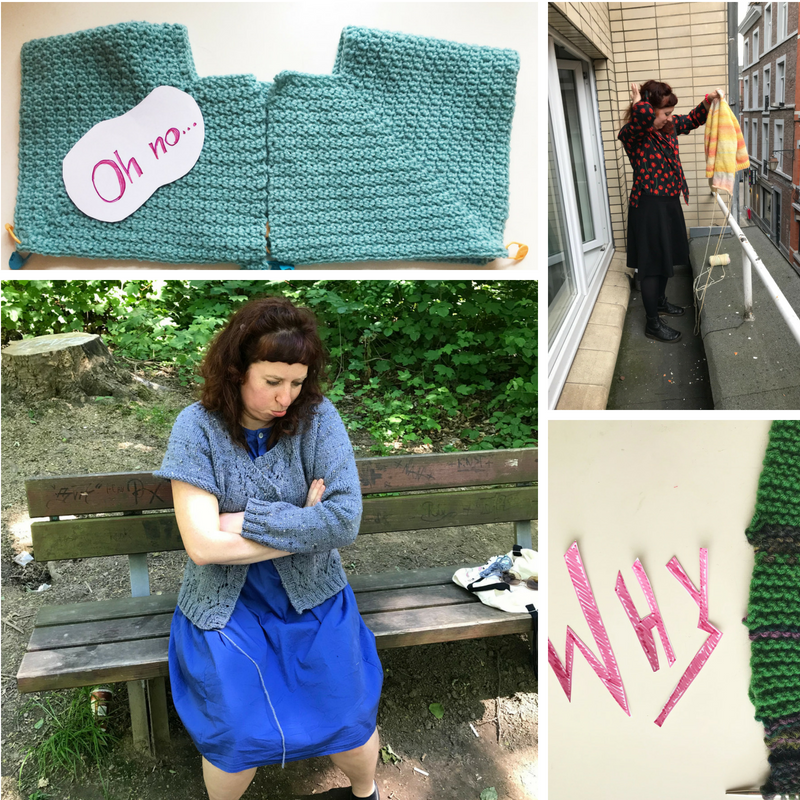
you see no suprises… mistakes are soooo seldom
Various methods to knit a top-down cardigan
There are for distinctly different methods to work a cardigan from the top down: the yoked cardigan, the raglan cardigan, and the cardigan with set-in sleeves (perhaps there are more methods, but these are the best known). All these methods work in crochet and knitting.
The yoked cardigan
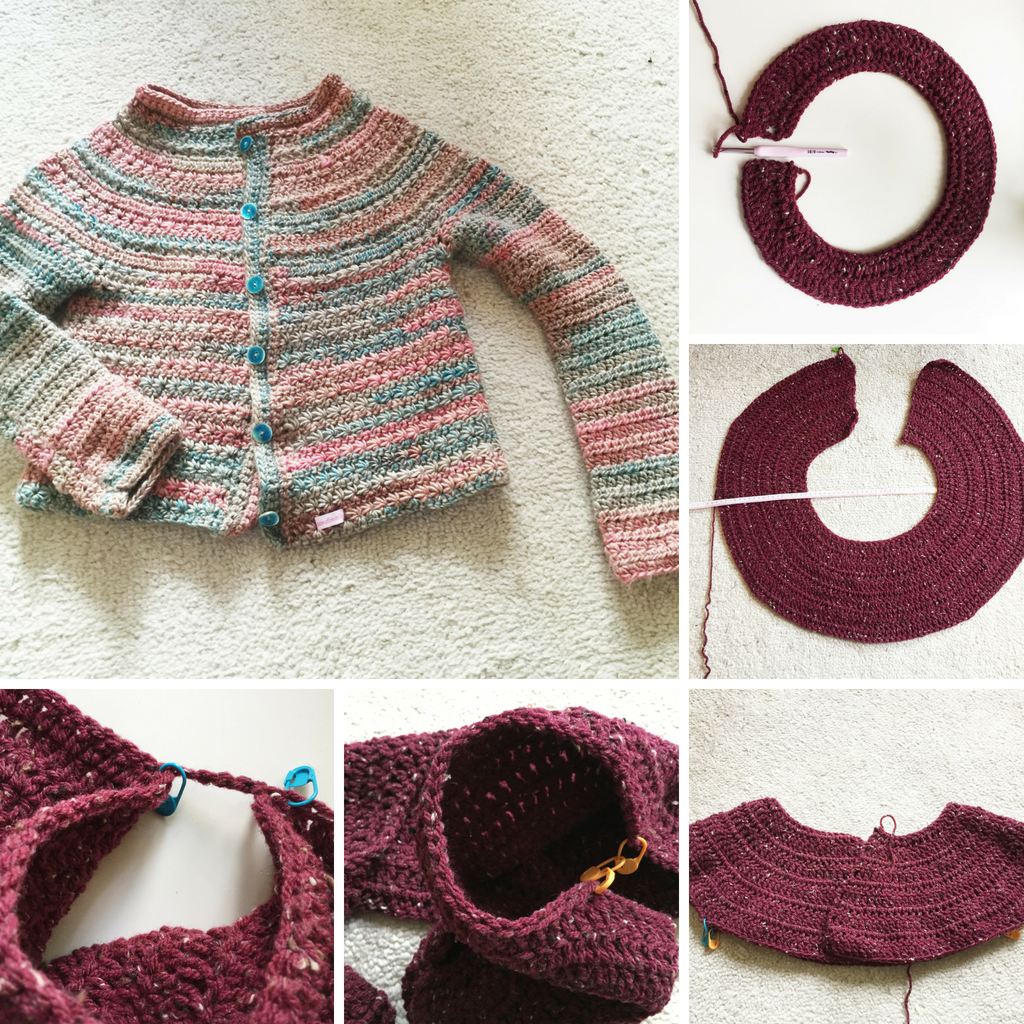 This form of a cardigan is actually a hat 😀 Ok, not a complete hat, but the way how you construct a hat is not very different from a yoke. For both – the hat and the cardigan with a yoke – you knit a circle and increase stitches over the whole width in a regular rhythm. For example, you increase every fourth row and knit/crochet three rows without increases. To achieve a round form, the increase stitches must not align above each other. If the desired armhole depth is reached, the sleeves are separated, and the body is worked. After finishing the body, you go back and knit/crochet the sleeves. Tada…
(I said ‘tada’ but both the round yoke cardigan and the raglan cardigan are often much more complicated than this simple formula. You can find top-down cardigans with a button-band which is added afterwards, with a later worked neckline, with increases which are incorporated into a lace pattern and so on.)
On the photos you can see how a round yoke is crocheted… sadly I had to unravel the red yoke, because the wool was discontinued. The shown finished cardigan has also a round yoke but with an easy lace pattern.
The raglan cardigan
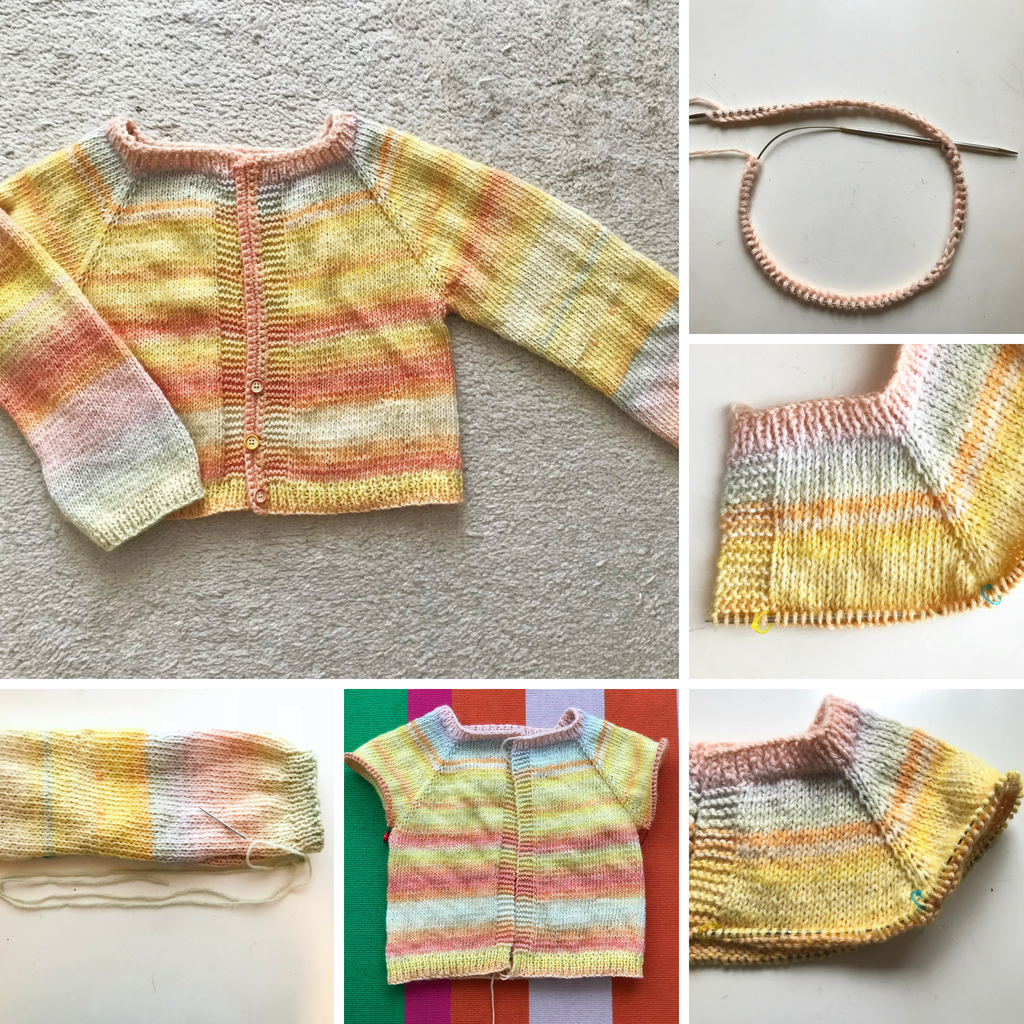 This construction is very similar to the yoked cardigan, only the increases align above each other at the four ‘corners’ of the cardigan. Again, you start at the neckline, but this time you must set four markers which separate the fronts, the sleeves, and the back. The increases are always directly before and after the markers. In knitting you increase 8 stitches every second row (while knitting in stockinette) and in crochet 8 stitches every row. In this way a rectangle is formed instead of a circle. The rest is the same procedure as the round yoke cardigan. This is my favourite construction, because you always know where to increase and how long. And I prefer the rectangle form of this cardigan. The round yoke can lead to an uneven form in a cardigan, where the two fronts fall open while wearing the cardigan. Because of the round yoke the middle of the cardigan seems to be longer than the sides.
As you can see this raglan cardigan is not finished… 4 buttons are still missing
The set-in sleeve cardigan
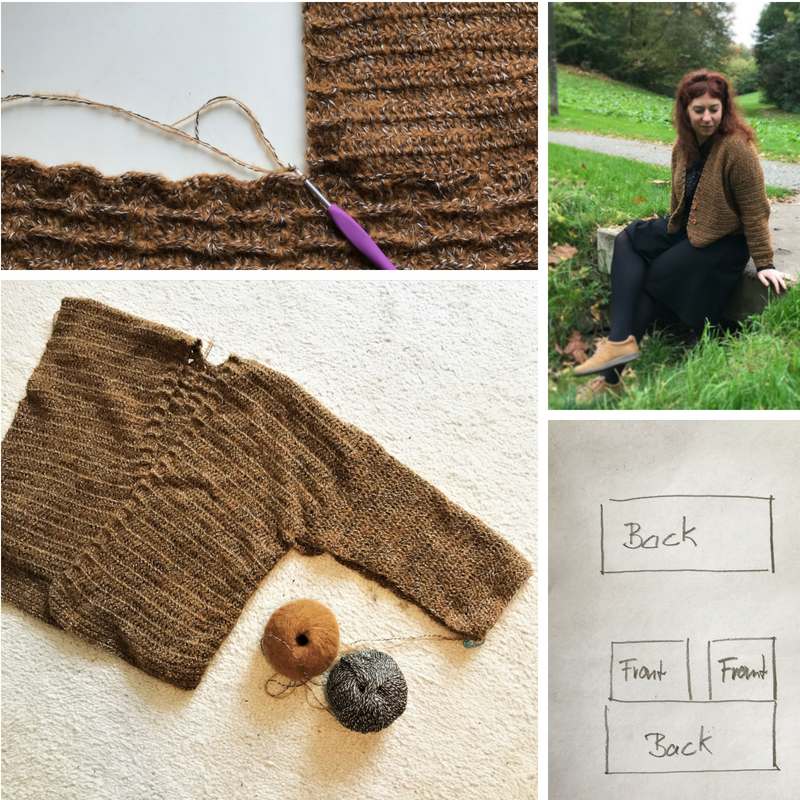 This type of cardigan I think is better known in knitting than in crochet. Here you start with a rectangle which forms the upper part of the back. The next step is to work the upper part of the two fronts into the back rectangle. And after this you connect in one round all parts. Now the body is knitted. In crochet you work the sleeves the same way as with a raglan or yoke cardigan in knitting there is a difference. Here you pick up stitches around the armhole (in raglan and yoke construction the armhole stitches are ‘life’) and form with short rows the sleeve cap and the sleeve. This construction is more fitted and looks more like a sewn cardigan, than the other top-down constructions. (I am currently trying this method with a sweater and like it so far. Perhaps I will make a complete post about this, if it fits well :-D)
On the photo you can see the set-in sleeve construction in crochet. The pattern is Esme cardigan from Vicarno.
Naturally there are many more top-down constructions and you can combine methods. Nevertheless, I hope I could give you a rough guide how these top-down garments are worked. The next part of this post will look at one of these methods in depths.
If you want to participate in the #needleworkmonday initiative (or simply read all the helpful comments over there) go to my steemit blog 😀