Last week I asked you about your preferences in regard to photo quality and you unknowingly gave me the permission to publish sh**** photos ??? You did not know that I would use your lovely comments against you – sorry to wake you up, but I am a monster 😀
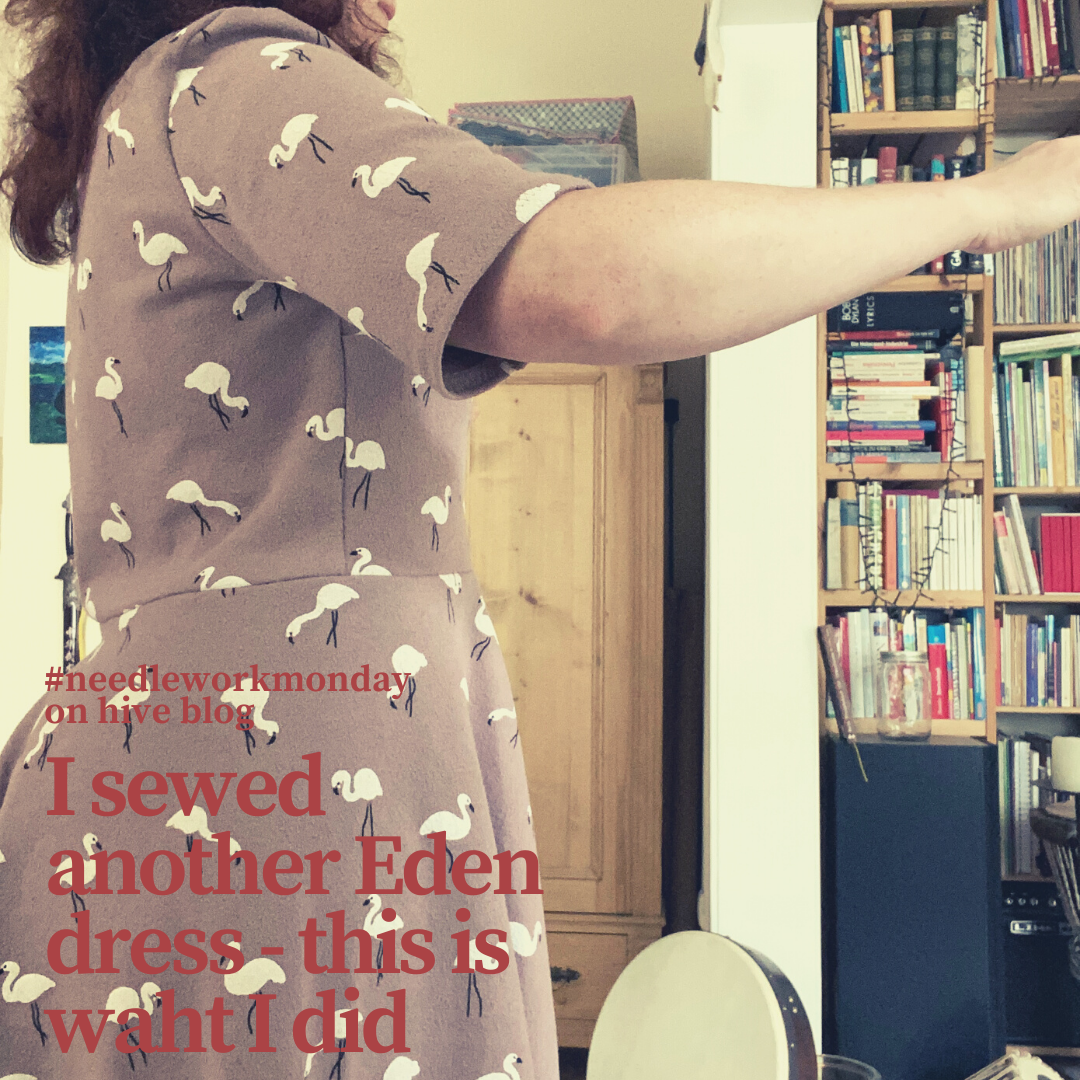
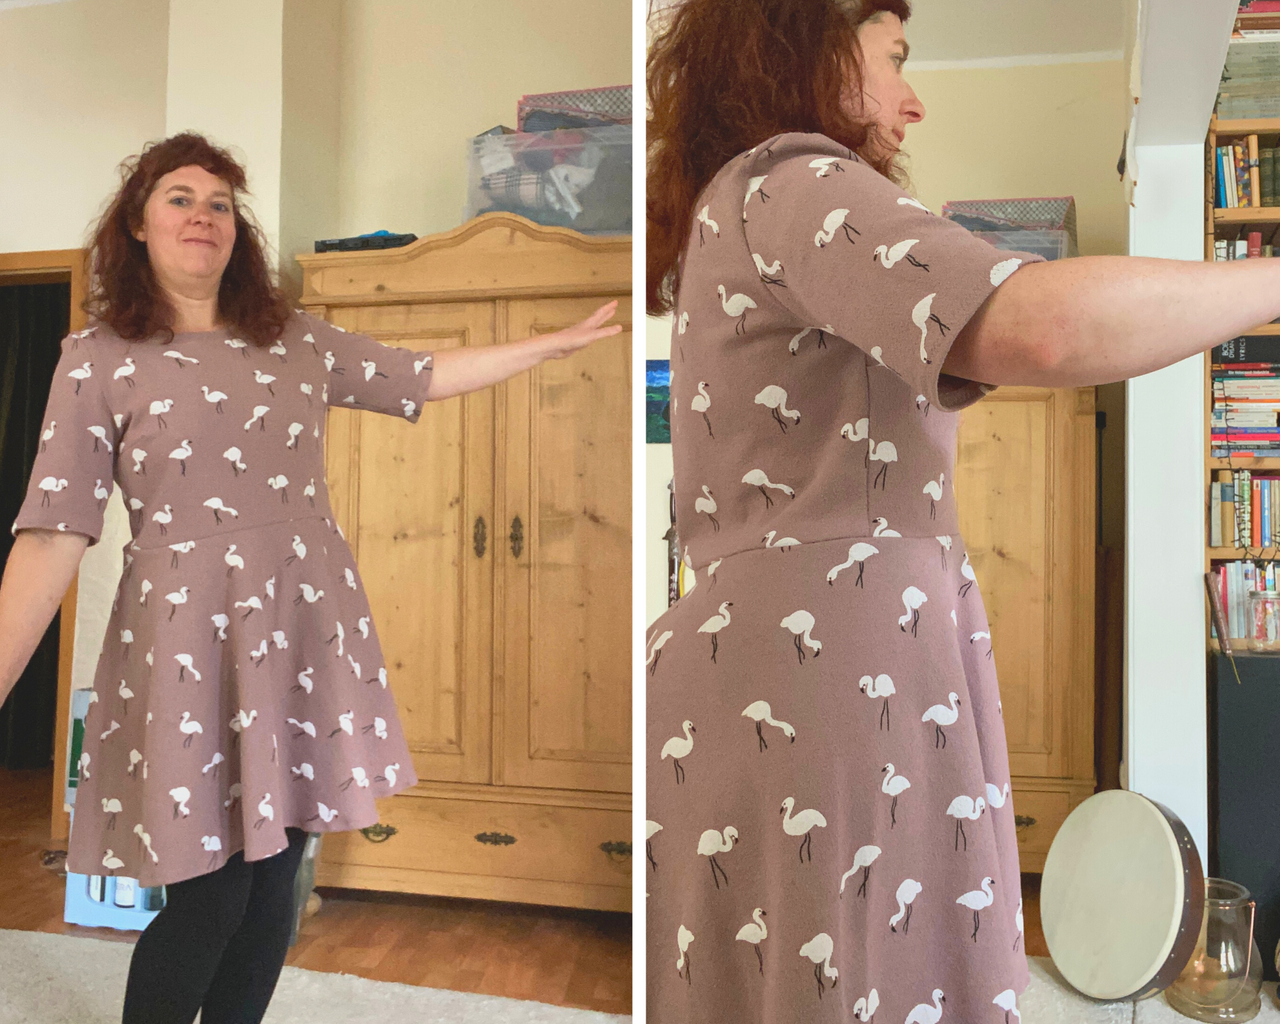
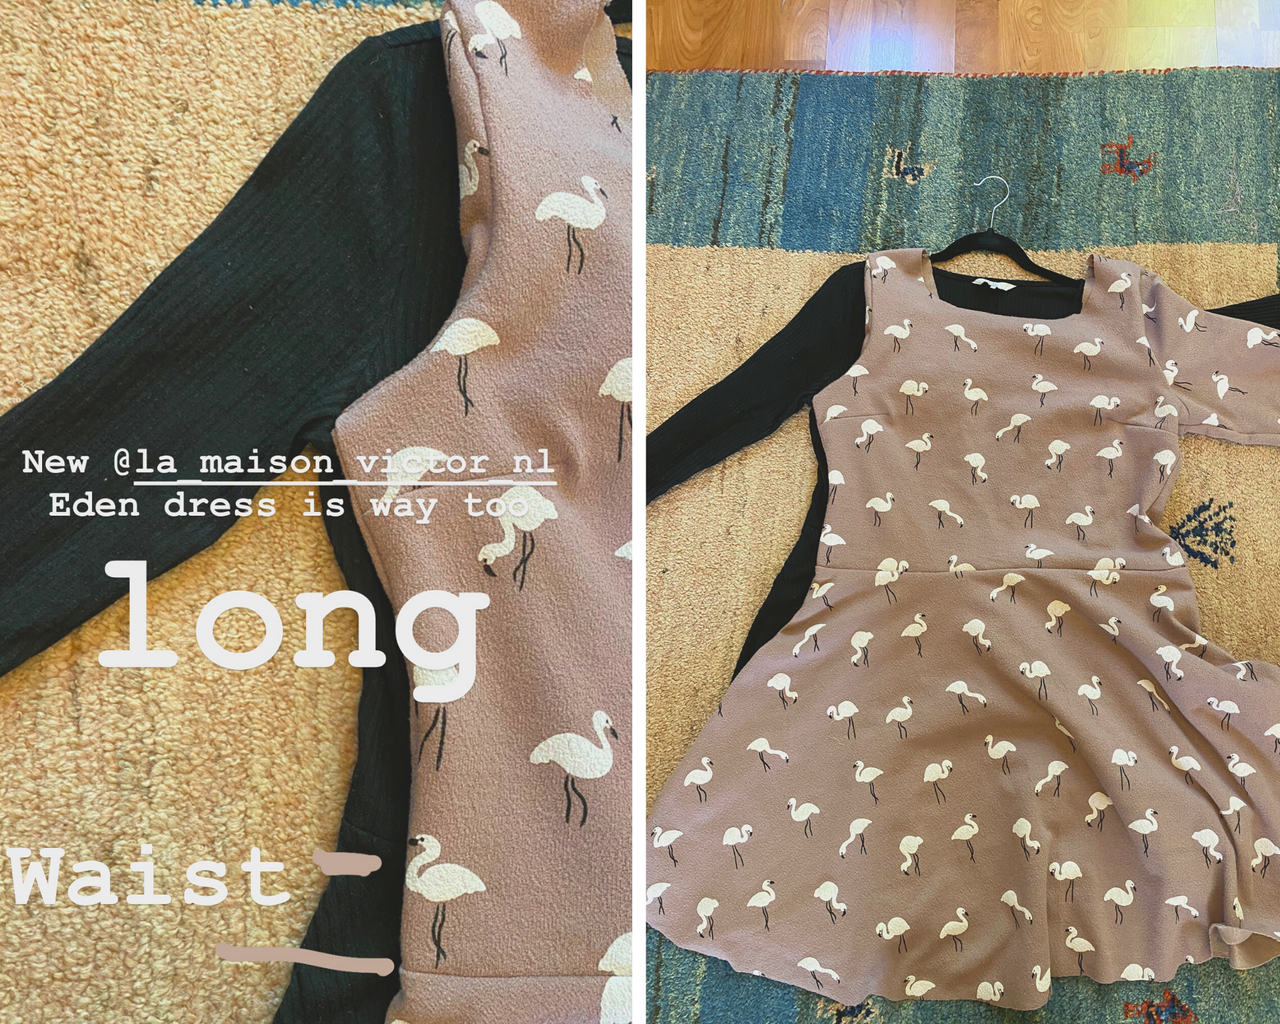
I am writing about photo quality, because the weather is overcast and my photo studio kitchen cupboard had to close. My garden is happy about the clouds and their promise of rain, but the Eden dress which I finished last week is a bit jiffy: it dreamed of a great entrance.
Instead it got this…
In my view it should be happy that I finished it and already wore it outside. Being a dress is no bed of roses.
What I did
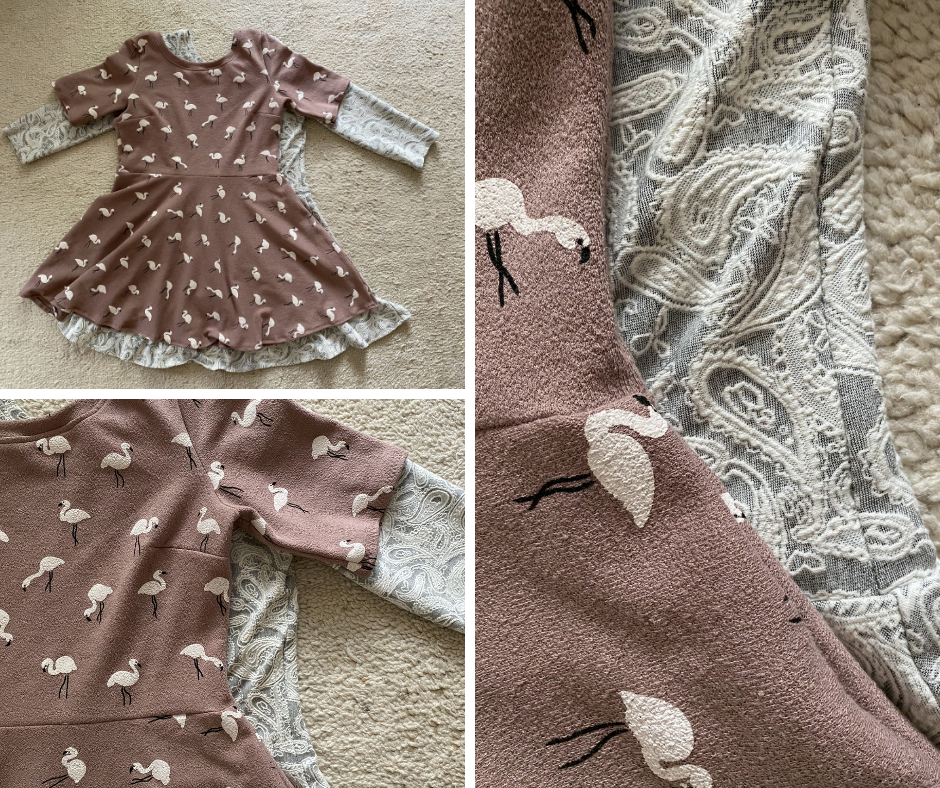
Although this dress is a very easy project to fit and sew, I again had some problems to get it right. I already wrote about the bunching at the bust area. This problem is still unsolved but less visible after I sewed in the neckband.
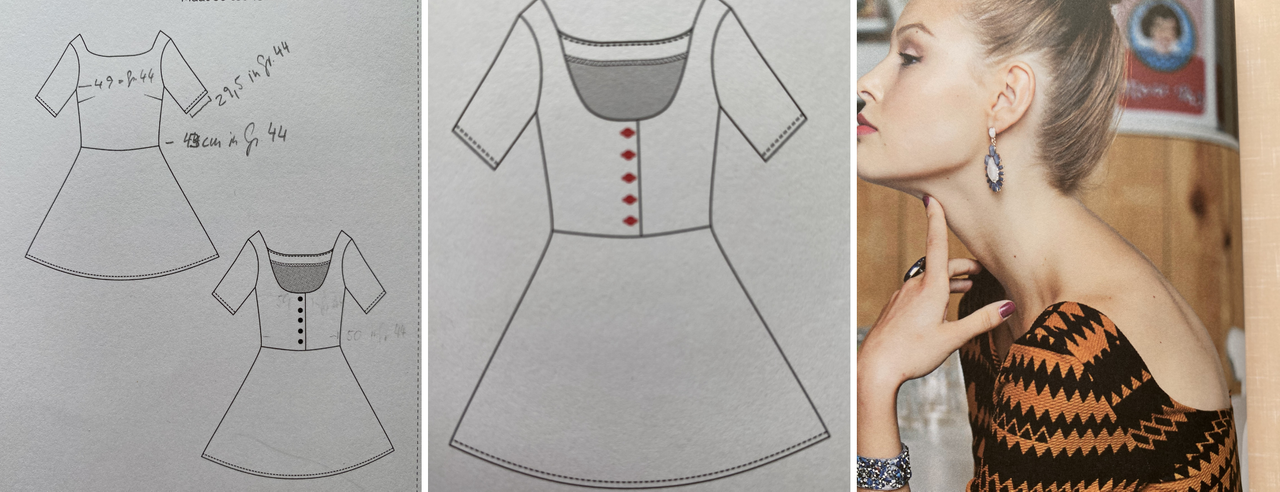
As the original dress has no neckband but facing (and a button band on the backside with an extreme deep neckline) I had to calculate it myself. I remember that some of you are in fear of doing the neckline and I am with you. Although it is a fairly easy process, I always am frightened that the neckline will gape or create folds. Thankfully it seldom does.
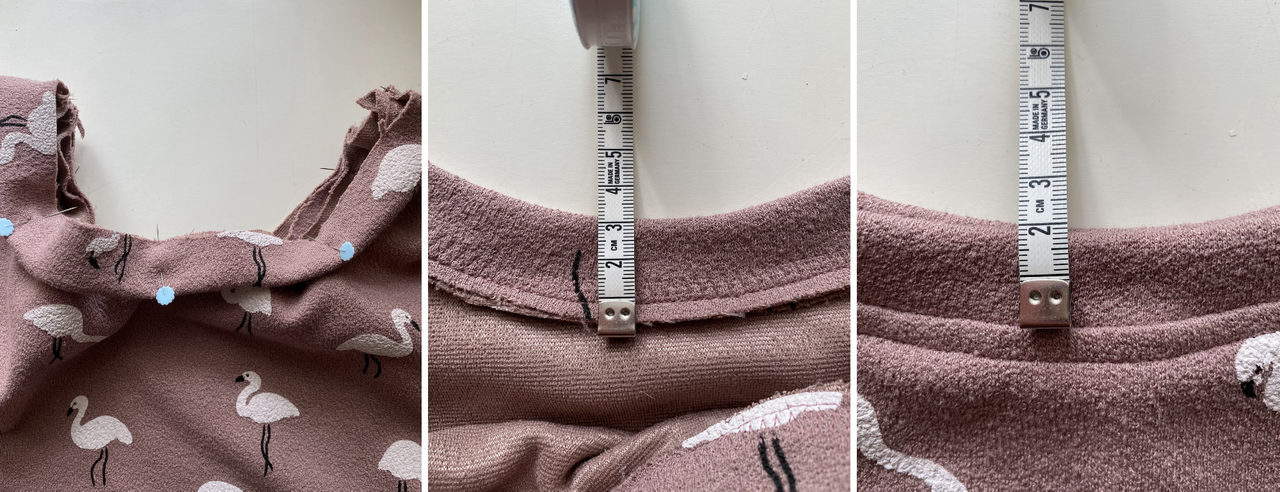
For the Eden dress I measured the complete neckline (94 cm) and then multiplied it with 0,75. This was a compromise between 0,8 for stiffer fabrics and 0,7 for very stretchy fabrics – the flamingo fabric I used is in my perception exactly in the middle of the stretchyness. I cut out 71,5 cm because I added 1 cm seam allowance. For the I height I decided on 6 cm. As the neckband is folded in half before sewing it on, 6 cm gave me a neckline height of appr. 2 cm and a comfortable seam allowance of 1 cm. Thought, done and to my liking.
Now that the body of the Eden dress fitted better and the bunching at my armpits/bust was hardly visible, another problem arouses. A problem I should have anticipated as I had the same with the last Eden dress: I am too short, or wait, I reword, the Eden dress in size 44 is made for someone who has the height of 171… funny, people grow not only in width but also in height when they have bigger sizes. Annoyingly, I did not know that I should have grown 10 cm while I got fatter, so I again was left with a too long dress body.

For my first Eden dress I shortened the body only a small amount and went with a fit where the waist is lowered. This time I wanted the waist of the body to sit roughly at my own waist. But I somehow forgot how short my torso is… I honestly sewed the skirt part 6!!!! times onto the body until I found a fit I could live with. Thankfully I was clever enough to not use a zig-zag stitch but basted the skirt. But 6 times??! By now I expect more of me… Only after 5 disappointing trials of inaccurate guesswork I had the idea to measure the body length of a fitting dress I already posses. I call this fast thinking (and irony).
Finally, on the last round of skirt sewing, I also decided to put the
skirt seam at the side instead of the middle of the back, where it sat
during the last 5 attempts prominently on my huge bum.
Hopefully I will read my own post before I sew another version of the
Eden dress to spare some hours of sewing and ripping (Huhu Simone if
your read this, the flamingo Eden dress has a 5 cm shorter body than the
white Eden dress which is already shorter than the original pattern).
Now I will run out to the garden and ponder to shoot some nicer Eden dress photos which I then will secretly insert und you wont know any longer that I promised sh**** photos at the beginning of this post, because the technical details of dress sewing were so confusing that you cannot remember one word of my text.
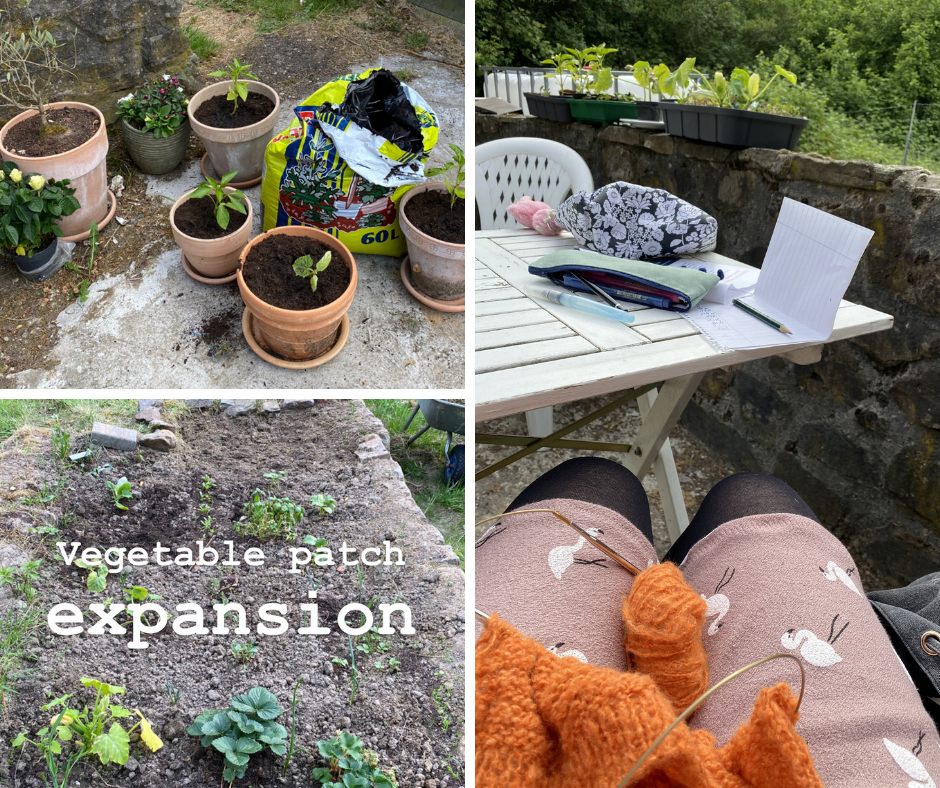
Addendum
I went into the garden but I did not take more dress photos, instead I did this:
Thank you @crosheille for iniciating and @muscara, @shanibeer, @marblely for hosting the #needleworkmonday. If you want to see more beautiful projects with yarn, fabric and most of all needles, follow @needleworkmonday on hive blog. Or even better grab your needles and keyboard and join the #needleworkmonday community. You can read more comments on this post on my hive blog.
If this is not enough, you can find my post on Handmade on Tuesday and read even more about knitting and sewing, but beware most post are in German.