Its Monday again and I am writing about art again and perhaps I will do this every Monday until the exhibition is set up in February :-DDD But do not fear this weeks projects still looks like a „normal“ dress as I do not have enough fabric to transform it into the artwork I have in mind (by the way, after finishing with writing I have to hurry to the shop to buy the last bit of the fabric…)
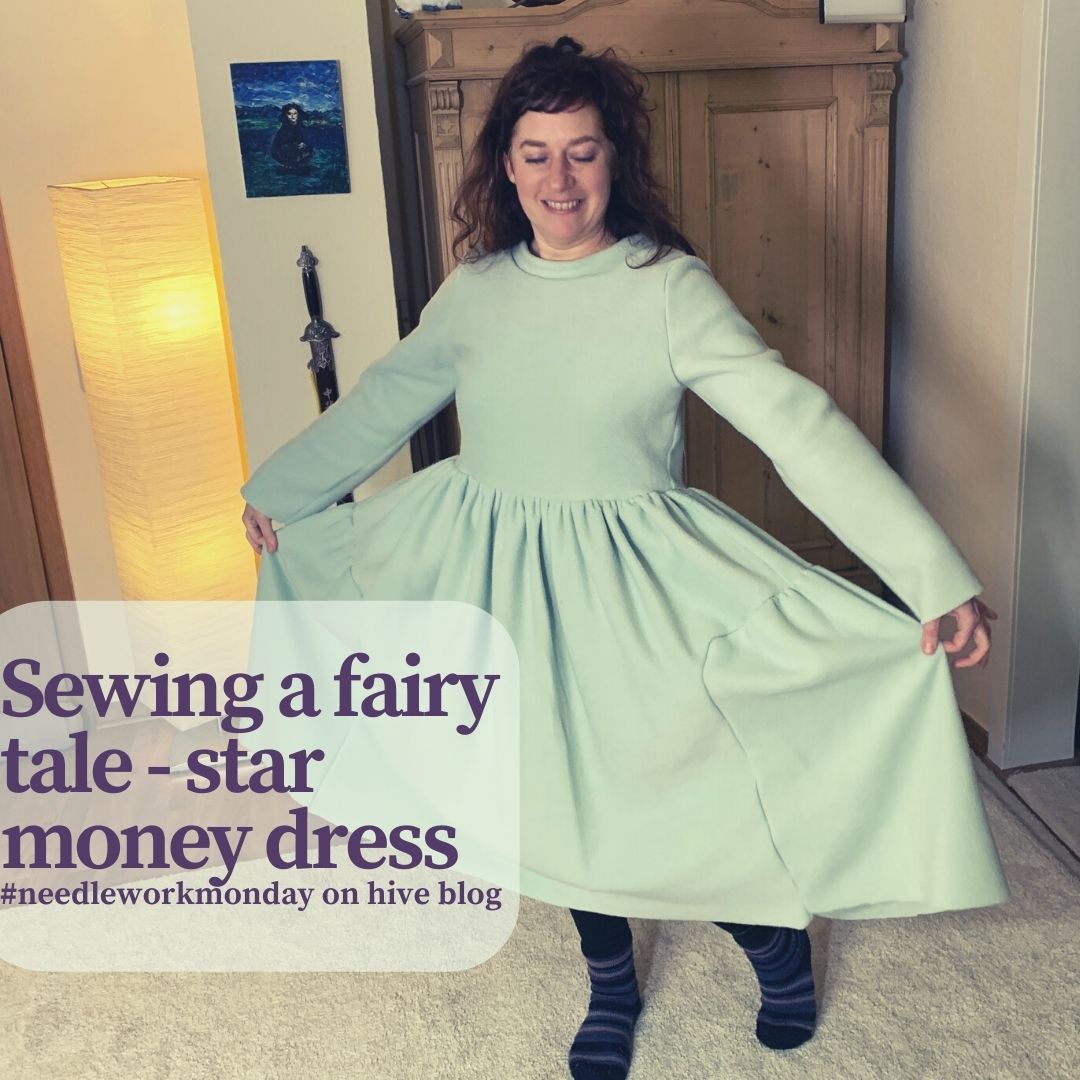
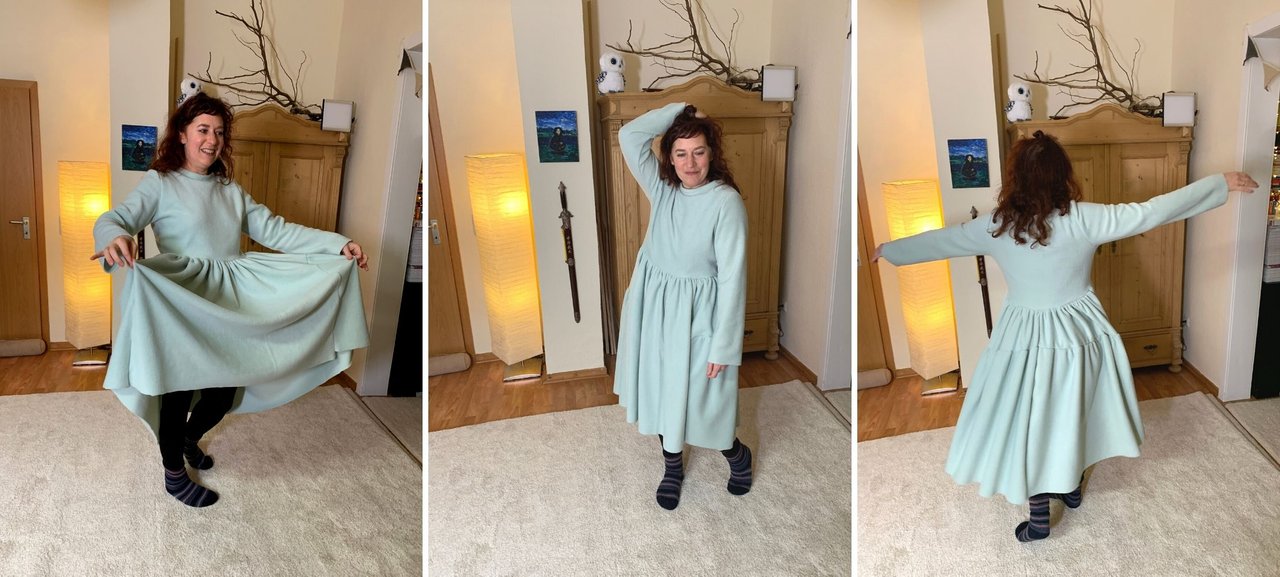
Perhaps you remember last week’s pink fluffy dress with the balaclava? Today I am working on another one of these wide dresses (for the backstory of them hop to this post ) which will get a huge hat piece in order to transform the whole outfit – hopefully, if everything works out :-D. The dress I made this time is even wider than the last one and I again could not resist to put it on although its is planned to hang in a gallery not on a body.
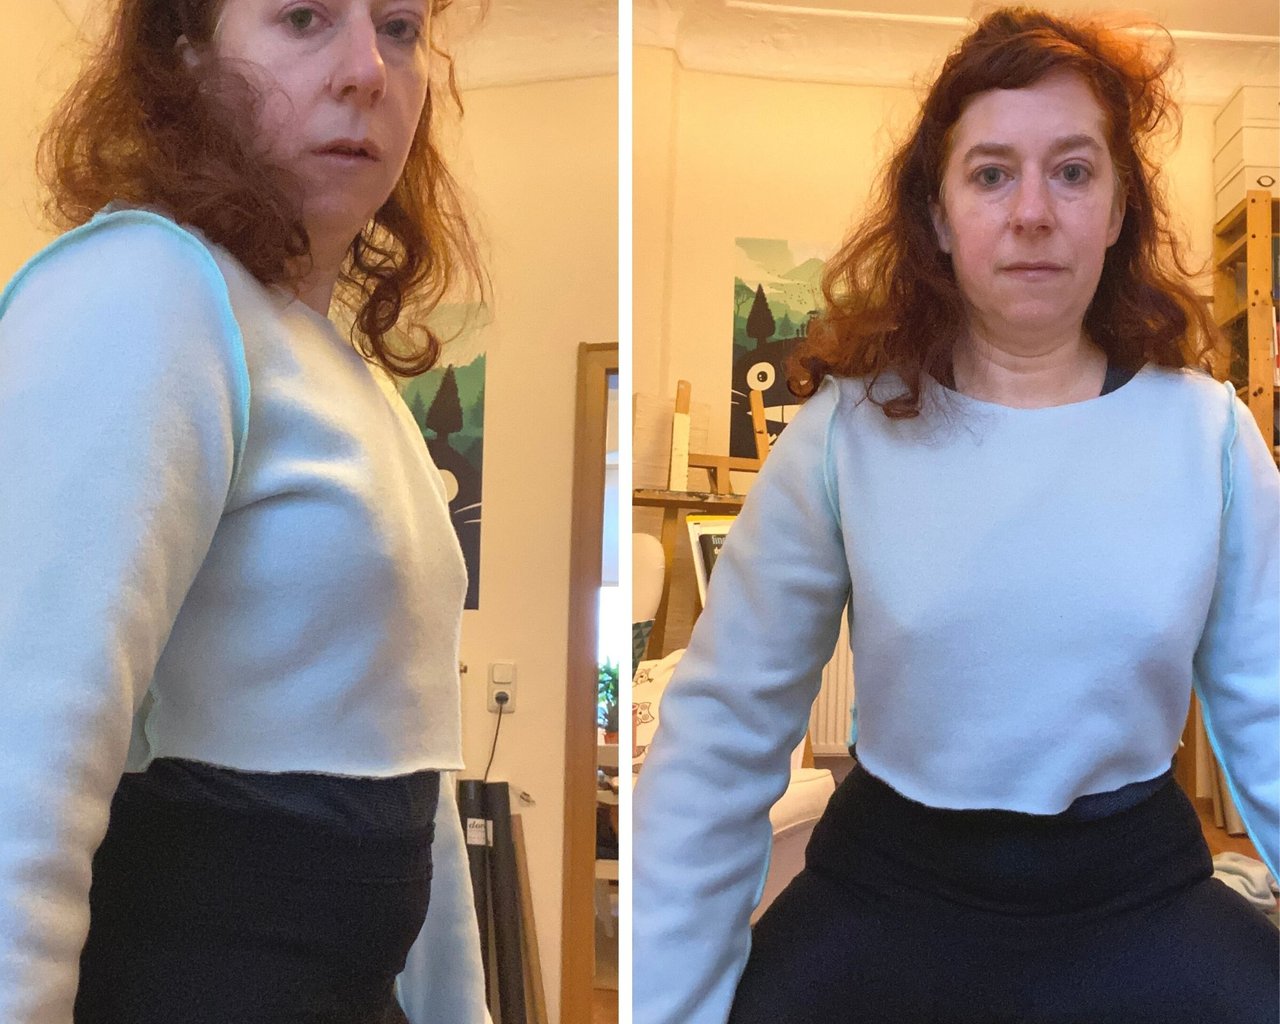
I started with the same pattern I drafted for the pink dress but changed the armhole of the bodice to omit the folded statement sleeves I made the last time. Which sounded like an easy thing to do I my head, but, left me with some ugly folds between the bust and armhole. I know, I know, I will never wear this, but why not make a fitting dress, nevertheless. Because the armhole for the pink dress is halfway between a raglan construction and a normal set-in sleeve, I thought I should make the curve of the armhole deeper and take away some height of the armhole to have a tighter fight and slimmer sleeve. Work fabulous sleeve-wise. I am very pleased with the fit of neckline and sleeve, but sadly some folds at my bust appeared. My considerations are either the dress now needs a dart because the armhole is shorter, or the armhole is not deep enough or the fabric is simply clingy. Sigh… I really need someone to teach me fitting.
I grumbled about these folds for some minutes but then went on to draft the huuuuuge skirt part. While browsing through the internet I stumbled about a skirt with several gathered layers, and I thought this is a perfect way to add even more volume to it and to give it some interesting lines. I started with a tiny sketch on a paper and the idea seemed very doable. What I did not thought through is, that the amount of fabric for this skirt is massive and that every part of the process besides the real sewing must be done on the floor as I do not have a huge enough table for this. Lucky me we have enough free room on the floor, poor me as my knees hurt when I was finished with pattern making and cutting.
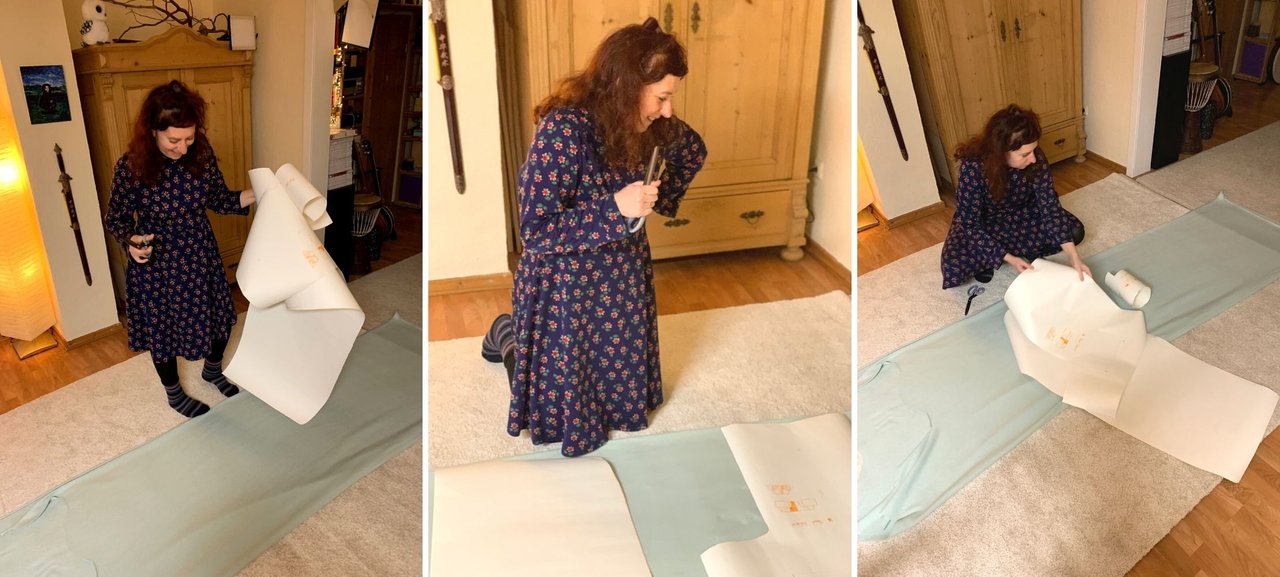
As you can see on my very unprofessional schematic, I designed the skirt with two layers. The top layer would have the full length in the middle and the get gradually shorter to the backside. The second layer would only be inserted at the short parts of the skirt (I know my written explanation is sh**, please look at the photos)

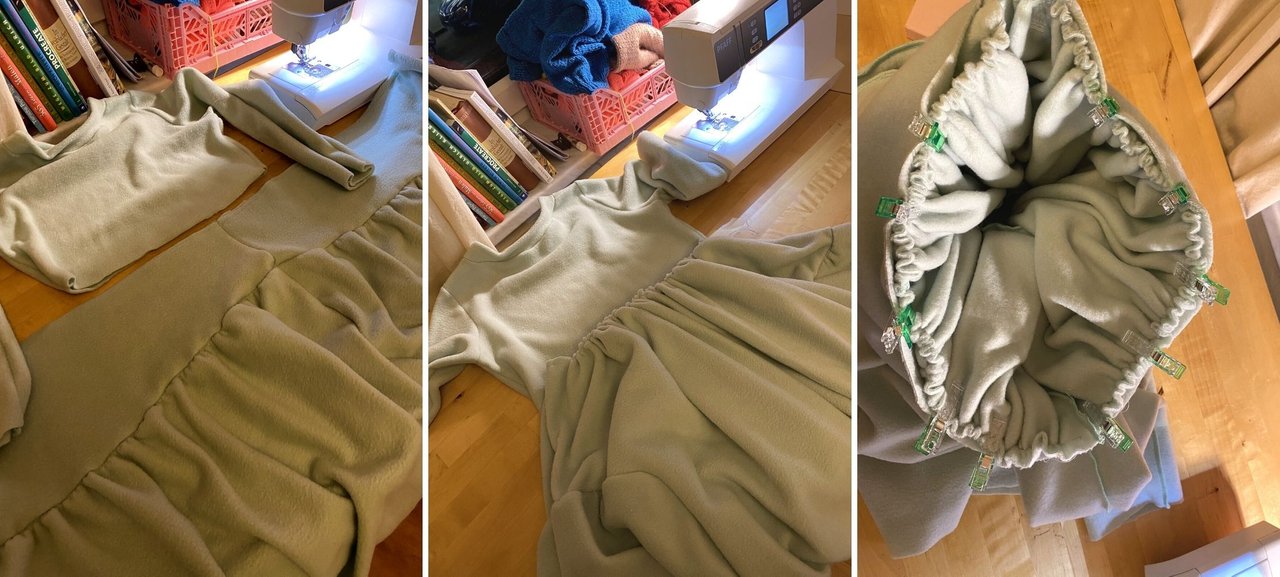
First step was to cut out all parts. I then sewed the top layer. Next step was gathering the second layer and attaching it to the top layer. Next, I gathered the top layer (meanwhile working with I guess 200 kilo of fabric and appr. 20 m length… and nooooooo I am not exaggerating 🤣).
Last step was to attach the skirt part onto the bodice. Sigh… all went well without major hiccups although it was in times a real fight for my sewing machine because as you can see on the photos the gathered fabric was very crumpled and thick.
After finishing the dress, I was so happy and that I put it on immediately and forced my husband to take photos. Only afterwards I noticed I do not have enough fabric left to sew the much more important headpiece… yeah, me, good at planning. 😱
With this very technical post I leave you to your week (hopefully successful and healthy) and will run to the fabric market and buy the last piece of this mint-colored fleece. Cross your fingers it did not sold out.
Thank you @crosheille for initiating and @marblely for hosting the #needleworkmonday and the community builder team @lauramica, @romeskie and @kattycrochet I am so glad to be part of.
If you want to see more beautiful projects with yarn, fabric and most of all needles, follow @needleworkmonday on hive blog. Or even better grab your needles and keyboard and join the #needleworkmonday community. You can read more comments on this post on my hive blog.
Read more about my art und upcoming exhibitions on neumannsalva or buy some of my digital artworks on NFT showroom.
Last but not least: if my post coaxed a smile on your face you could support me with cocain coffee on Ko-fi